Create a Custom React Hook


Sometimes when building React applications, we want to share logic between JavaScript functions. To do this as a developer, we extract the particular logic and put it in a function, right? These functions in React are what we call Custom Hooks.
Custom hooks are functions that we create to make logic accessible to other components or functions in an application. As with other hooks in React, a custom hook must:
- Be called at the very top level of your React function to ensure that hooks are called in the same order each time a component renders.
- Start with the
usekeyword - Never be called inside a nested function, a loop, or condition
- Only be called from functional components in React
Prerequisites
A basic knowledge of React and React hooks is required to get the full value out of this article.
Building Your First Custom Hooks
To demonstrate how to create a custom hook, I will divide this lesson into two parts. In the first half, we will write code without any custom hooks, and in the second part, we will move some logic into a custom hook. Are you excited? Let's get started.
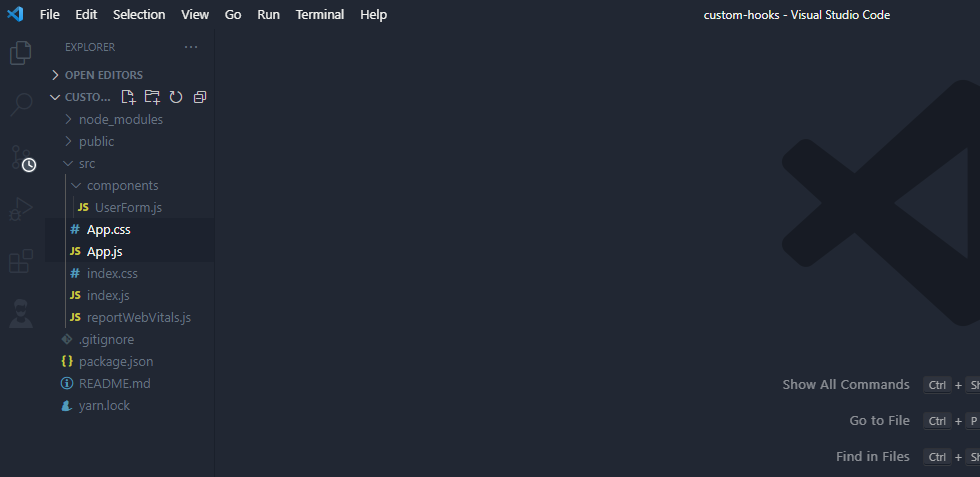
For this example, we will implement a simple form where a user can submit their first and last name. To begin, let's create a new React app by running npx create-react-app custom-hooks. After creating your react app, create a components folder inside your src folder. Inside your components folder, create a UserForm.js file. Your folder structure should look like this:
Now, inside your UserForm.js file create a functional component. We need two state variables for our firstName and lastName(remember we want to create a submit form where users can submit their first and last names), so we are going to import the useState hook in react at the top of our file and create the two variables.
Next, let's add the jsx. Inside your return statement, add a form tag that will contain some input elements for our first and last name. Now your UserForm.js file should look like this:
The next step is to convert these input elements into a controlled component like so:
Noticed from the above, we added value and onChange attributes (where e in onChange stands for “event”), to our input elements to make them interactive. Next, we are going to add a submitHandler to our form tag and create the submitHandler function. Inside our submitHandler function, let’s add the e.preventdefault() method to stop the code from refreshing and an alert method which we will use to display our input names like so:
We are almost done with the first part of our code. Your UserForm function should look like this:
One last thing before we finish the first part of our code. Let's go to our App.js file, remove the boilerplate code, import our UserForm component, and return it like so:
Next, go to your terminal, inside your project directory, and run npm start. You should get redirected to your browser. Add a first and last name inside the input fields and submit. Notice the alert method returned your inputs prefixed by the "Hello" word we added?
Pretty straightforward, yeah? Now, let's create our custom hook. For this example, we want our custom hook to encapsulate controlled component behavior for our input element. In other words, we want to be able to bind the value and onChange attributes together since they are repeated severally in our UserForm.js file. Let's see how:
- Create a new folder called
hooksinside of yoursrcfolder - Inside your hooks folder, create a file called
useInput.js.
In our useInput custom hook, we want to create a logic that can track our input fields' value. To implement this logic, we would need to import useState from React and set our useState to a variable with a parameter of initialValue like so:
Now that we have the value and a function to update the value- setValue, let's add our logic.
First, let's create an object called reset that allows us to set the value back to the initial value (initialValue) and an object called bind with two properties. The first property is value, and the second property is onChange. The onChange property is going to be a function that receives the event as a parameter and sets the value to e.target.value
Finally, we will return three things; the value, bind, and reset like so:
Next, let's see how to incorporate this logic in our component. In your useForm.js file, import the useInput file on the top of your page. After that, just underneath your UserForm function, write the following lines of code to replace the useState call for the firstName.
Remember that a call to useInput in our useInput file returns three values (firstName, bindFirstName, resetFirstName). Here in our UserForm file, we destructured all three and deleted our useState call for both firstName and lastName.
Noticed that firstName and lastName has already been used in the submitHandler function. Now, to use the bindFirstName, bindLastName, resetFirstName and resetLastName, we would need to replace the value and onChange attributes for firstName while bindLastName would need to replace the value and onChange attributes for lastName in our form. This is possible because the code is in fact one and the same. Something like this:
One last thing before we round up with this. For the reset functions, we can make use of them in the submitHandler like so:
In the end, your userForm file should look like this:
That's pretty much it. You can save the file and take a look at your browser. Noticed after you try inputting, the form refreshes itself (courtesy of the reset button), showing us that our useInput custom hook works as expected.
You can find the complete code here in my GitHub repository- https://github.com/QNNAKWUE/custom-hooks.