Configure and Start a WordPress Instance using Local


I'll give you an overview of the basic web application architecture that is involved with setting up a headless WordPress site.
A WordPress application is made of three key components:
- A web-server
- The file system
- The database
It used to be an arduous task to get set up locally to run a WordPress instance. You needed to correctly download and configure a web-server and a database. You then needed to get the files installed in the correct place for the web-server to be able to access them. This was particularly grueling on a Windows system.
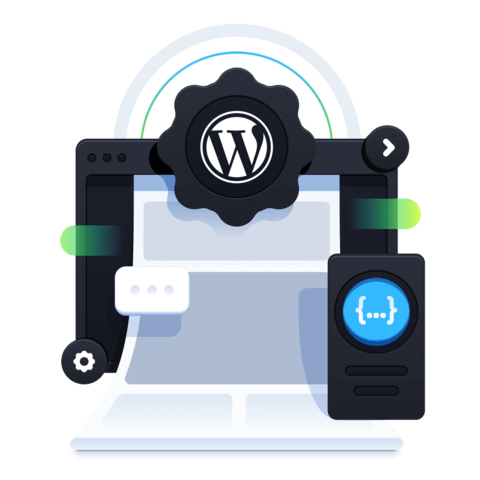
The WordPress hosting company, FlyWheel, has a tool called Local which I use exclusively for all my WordPress development. With a few clicks a web-server is configured, the files downloaded and the database prepared for you.
Instructor: [0:00] When setting up a headless WordPress instance, there's a lot that needs to be done. We need to configure a web server that's going to handle requests and send responses to our frontend.
[0:08] We need to configure a file system that's going to include our WordPress install in any configuration changes you might want to make. We need to configure a database, so that we can persist our data and be able to make requests, and to respond to those requests.
[0:22] It used to be a challenge to get these set up, but I'm going to recommend using a tool called Local. Local is a tool provided by Flywheel that sets up the database file system on the web server for us. We press plus to add a new site, and we give it a name. I'm going to call this Headless Egghead.
[0:36] Under Advanced Options, we can see we can change the local URL, where the files are stored, and we can use a blueprint. We're not going to use one of those. At this point, we choose our PHP version or web server on our type of database. This is the preferred version.
[0:50] If I did go to custom, I can change the version of PHP being used. I could change the type of web server being used, and I could change the version of database being used.
[0:59] I'm going to stick with the preferred setup. At this point, I'm going to create the user name and password that will be used in the admin panel for my WordPress instance. I could provide an email as well, to recover that password.
[1:10] In the advanced options I can set this up with some multisite or not. A multisite is where I would have more than one WordPress instance managed from the same administration panel. I'm going to select no, and add this site to my sites, local non-user options to set up our WordPress instance.
[1:26] It asked me for my password. Local sets up a URL on our hosts file that allows us to access the site without remembering the IP address. It's asking for my system level password, at that point. Now, we'll download the version of WordPress we requested, and install it.
[1:41] Local is also configuring our web server and our database. Once downloaded, installed and configured will be brought to this local admin panel. An SSL certificate has been created. I'm going to click trust, which will allow me to be able to access this website over here at TTPS, even though it's hosted locally.
[2:02] Again, I'll provide my system password. Now, I'm going to go to this URL, headless egghead local. This is the install that I've just set up. You can see, it starts with a simple theme with a default post and some comments. I can log into the administration panel by going to /wp admin.
[2:24] I'll use the username and password I've provided during the local setup to log in. Alternatively, I could just click on the admin page, which will also bring me to the login window, having Kevin and my password, and I get to my admin panel.

Member comments are a way for members to communicate, interact, and ask questions about a lesson.
The instructor or someone from the community might respond to your question Here are a few basic guidelines to commenting on egghead.io
Be on-Topic
Comments are for discussing a lesson. If you're having a general issue with the website functionality, please contact us at support@egghead.io.
Avoid meta-discussion
Code Problems?
Should be accompanied by code! Codesandbox or Stackblitz provide a way to share code and discuss it in context
Details and Context
Vague question? Vague answer. Any details and context you can provide will lure more interesting answers!